How to Build a Custom Mechanical Keyboard
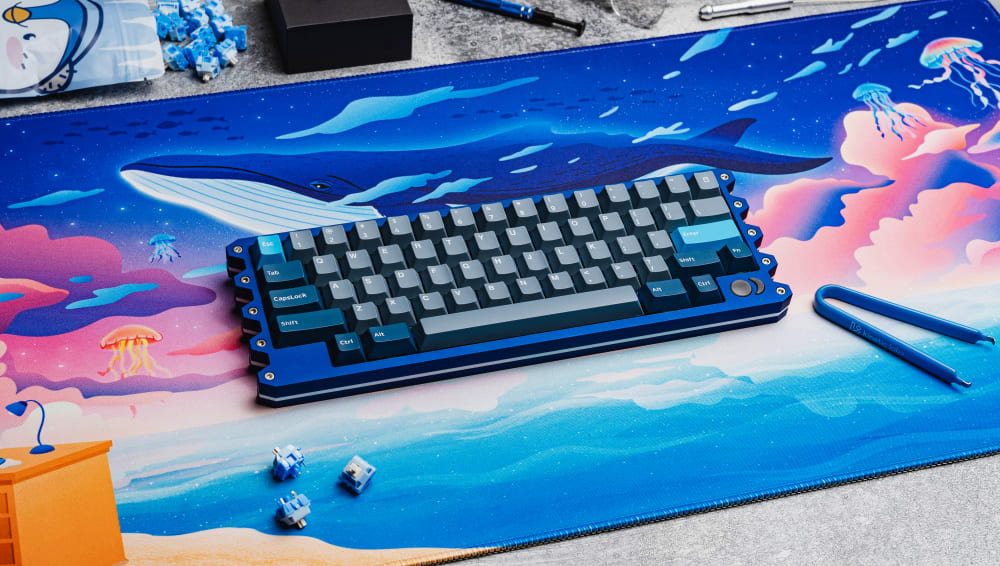
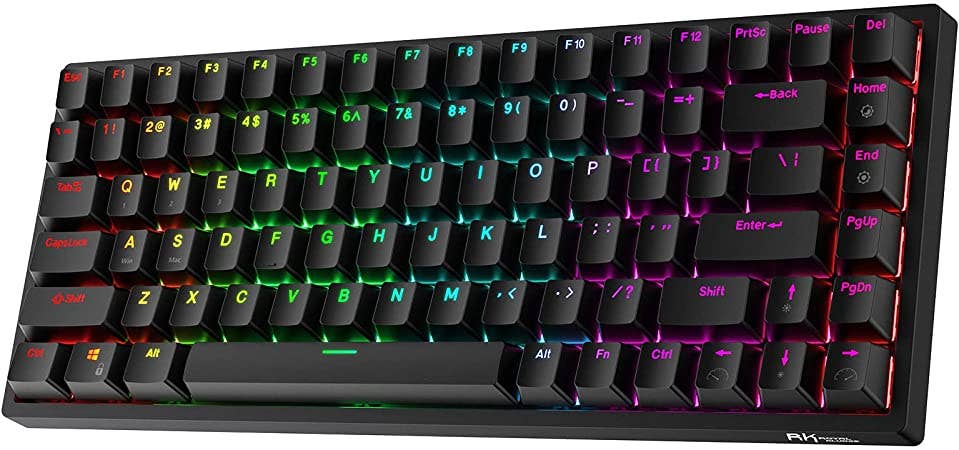
Building a custom mechanical keyboard can be a rewarding and enjoyable experience for keyboard enthusiasts. Not only does it allow you to create a keyboard tailored to your preferences, but it also gives you a deeper understanding of the components and mechanics behind these beloved devices. In this guide, we’ll take you through the step-by-step process of building your own custom mechanical keyboard.
Step 1: Gather the Necessary Components
To begin building your custom mechanical keyboard, you’ll need the following components:
- Keyboard Case: Choose a case that suits your preferred layout and aesthetics. Popular materials include aluminum, acrylic, and wood.
- PCB (Printed Circuit Board): The PCB acts as the backbone of your keyboard, connecting the switches and other components.
- Switches: Select the type of switches you prefer, such as Cherry MX, Gateron, or Kailh switches. Consider factors like the switch type (linear, tactile, or clicky) and actuation force.
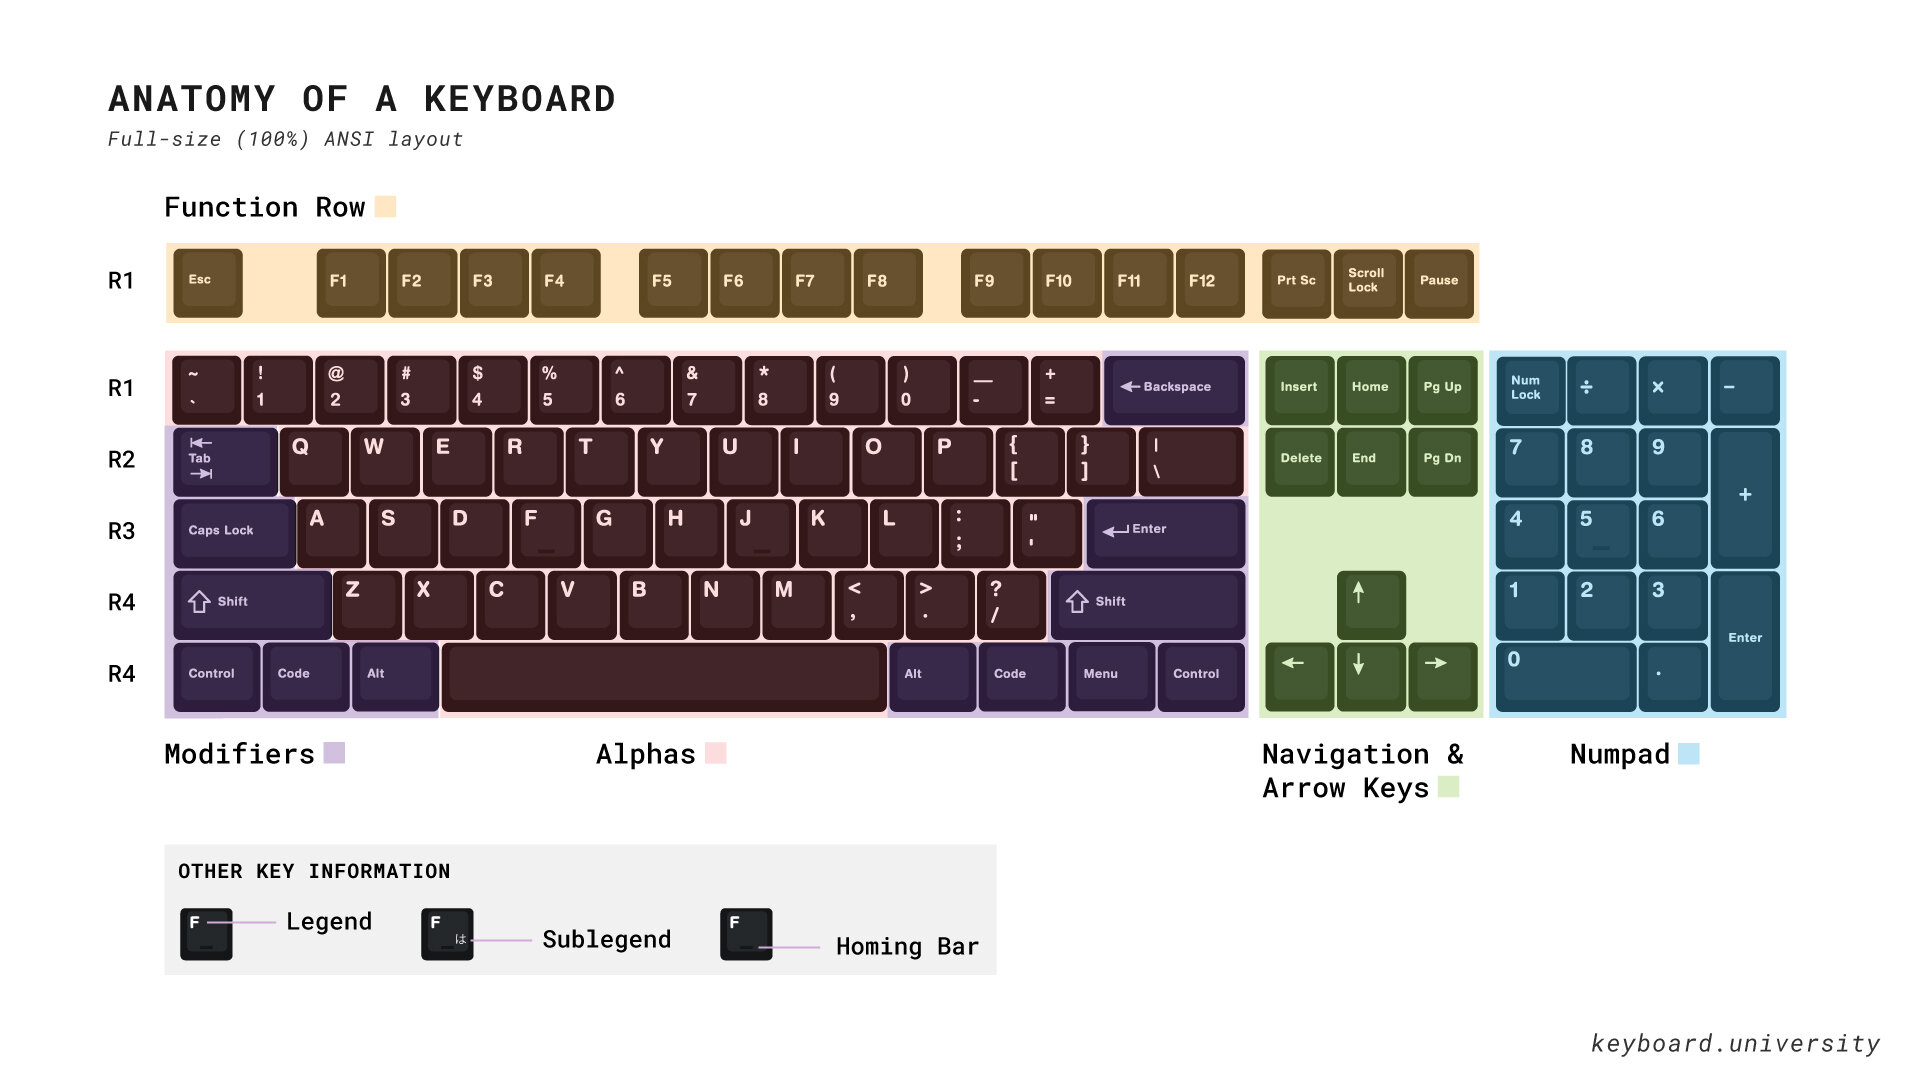
- Keycaps: Keycaps come in various materials, profiles, and colors. Choose keycaps that match your preferred layout and design.
- Stabilizers: Stabilizers ensure smooth and stable key movement. You’ll need stabilizers for larger keys like the spacebar, enter key, and shift keys.
- Diodes: Diodes are essential for the keyboard’s electrical circuit. Ensure you have the correct number of diodes for your PCB.
- USB Cable: You’ll need a USB cable to connect your keyboard to your computer. USB Type-C cables are commonly used for modern keyboards.
- Optional: LED lighting, controller, foam, and other customization components.
Step 2: Prepare the PCB and Solder Components
- Unpack and Inspect PCB: Carefully unpack the Printed Circuit Board (PCB) and inspect it for any visible defects or damage. Ensure it’s clean and in good condition.
- Diode Placement: Place the diodes in their designated spots on the PCB, making sure you install them in the correct orientation. Diodes are typically marked with a line or arrow indicating the direction. Solder the diodes onto the PCB.
- Stabilizer Installation: Install the stabilizers onto the designated positions on the PCB. Apply a small amount of lubricant to the stabilizer wires to ensure smoother key movement. Stabilizers are essential for larger keys like the Enter key or spacebar to prevent wobbling.
- Switch Insertion: Insert the switches into their respective slots on the PCB. Ensure that each switch is aligned correctly and fully seated. Mechanical switches have two or three pins, and they should fit securely into the corresponding holes.
- Soldering Switches: Solder the switches to the PCB. Be cautious not to apply excessive heat, as it can damage the switches or the PCB. Make sure the solder joints are clean and well-formed.
- Additional Components (Optional): Depending on your keyboard design, you may need to solder additional components, such as LEDs for backlighting or a microcontroller if your keyboard has programmable features. Follow the specific instructions for these components, if included in your build.
- Keycaps: After soldering all the switches, you can now place the keycaps on top of the switches. Make sure each keycap corresponds to the correct switch. Press down firmly to secure them in place.
- Testing: Before assembling the keyboard case, it’s a good practice to test your PCB to ensure all keys and functions are working correctly. You can use keyboard testing software or websites to check each keypress.
- Assembling the Case: Once you’re confident that everything is working as expected, you can proceed to assemble the keyboard case, which typically involves attaching the top and bottom halves together. Be sure to follow the specific case assembly instructions provided with your keyboard kit.
- Final Testing: After assembling the case, perform a final test to make sure everything works flawlessly. Test all keys and any additional features like LEDs.
- Keymap Programming (if applicable): If your keyboard supports programmability, you can customize the keymap using appropriate software. This step is optional but allows you to tailor your keyboard to your preferences.
- Enjoy Your Custom Mechanical Keyboard: Once you’re satisfied with the functionality and aesthetics of your keyboard, you can start using it for your typing and gaming needs.
Please note that assembling a custom mechanical keyboard requires some technical skill, and soldering, in particular, should be done with care. If you’re new to keyboard assembly, it’s a good idea to follow a comprehensive guide or seek assistance from experienced builders.
Step 3: Install the PCB into the Keyboard Case
- Carefully place the PCB into the keyboard case, aligning it with the mounting points or screw holes.
- Secure the PCB to the case using screws or standoffs, ensuring it is securely fastened.
Step 4: Install and Customize Keycaps
- Take your keycaps and carefully place them on the switches, ensuring they are properly aligned.
- Adjust the position of the keycaps as needed to achieve your desired layout.
- Optionally, customize your keycaps with novelty or artisan keycaps to add a personal touch.
Step 5: Test and Program the Keyboard
- Connect your keyboard to a computer using the USB cable.
- Test each key to ensure they register correctly. Use keyboard testing software or online tools to verify functionality.
- If your PCB supports programmability, use the provided software or firmware to customize key mappings, macros, and RGB lighting.
Step 6: Fine-Tuning and Assembly
- Adjust any stabilizers if they feel inconsistent or too loose. Lubricate them further if necessary.
- If desired, add foam or dampening material inside the case to reduce sound and improve typing feel.
- Carefully reassemble the keyboard, ensuring all components fit properly and the case is securely closed.
FAQs
Q: Can I build a custom mechanical keyboard even if I have no prior experience?
A: Yes, building a custom mechanical keyboard is achievable for beginners. It may require patience and attention to detail, but with proper research and following instructions, anyone can successfully build their own keyboard.
Q: Can I reuse components from an existing keyboard?
A: In some cases, you can salvage keycaps or switches from an existing keyboard. However, compatibility and fitment may vary, so it’s important to research and ensure compatibility before proceeding.
Q: How long does it take to build a custom mechanical keyboard?
A: The time required to build a custom mechanical keyboard can vary depending on your experience level, the complexity of the build, and the availability of components. It can take anywhere from a few hours to several days.
Q: Can I change components after building the keyboard?
A: Yes, many components like keycaps, switches, and stabilizers can be easily swapped out or upgraded even after building the keyboard.
Conclusion
Building a custom mechanical keyboard allows you to create a personalized typing experience that perfectly suits your preferences. By following the steps outlined in this guide and taking the time to choose the right components, you’ll be on your way to enjoying a unique and satisfying keyboard that reflects your style and typing needs.


